


Product News


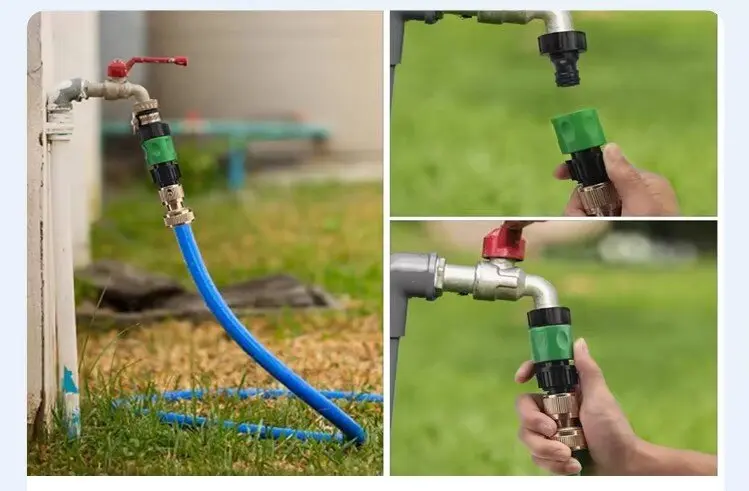
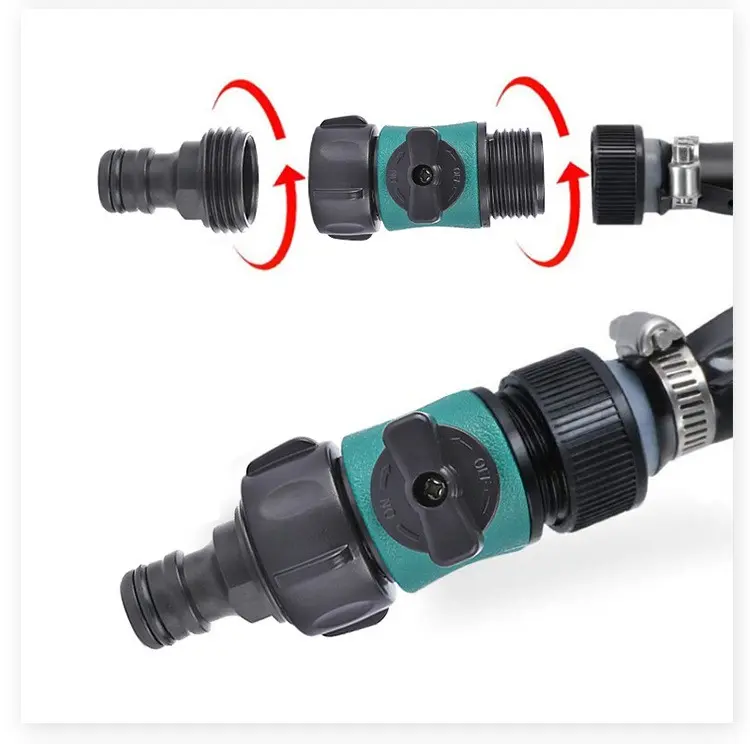
Install a Water 3 Way Hose Connector Easily
Install a Water 3 Way Hose Connector Easily
Installing a water 3 Way Hose Connector might seem daunting, but it's simpler than you think. You just need the right tools and a bit of patience. A secure and leak-free connection is crucial. It prevents water wastage and potential damage to your garden or equipment. Did you know that about 80% of hose failures result from external physical damage? Proper installation can save you from costly repairs and ensure your system runs smoothly. So, let's dive into the process and get your hoses connected securely.
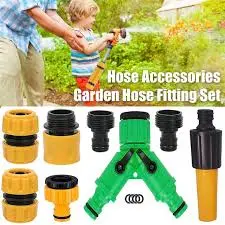
Tools and Materials Needed
Before you start installing your water 3 Way Hose Connector, gather all the necessary tools and materials. Having everything ready will make the process smoother and more efficient.
Essential Tools
To ensure a secure and leak-free connection, you'll need a few essential tools:
Hose Clamp: This tool is crucial for securing the hose to the connector. It ensures that the connection remains tight and prevents any leaks. Make sure you have a clamp that fits your hose size.
Thread Tape: Also known as plumber's tape, this is used to seal threaded connections. It helps create a watertight seal, especially when you're dealing with threaded connectors. Wrap it around the male threads before attaching to the female fitting.
Necessary Materials
Now, let's talk about the materials you'll need:
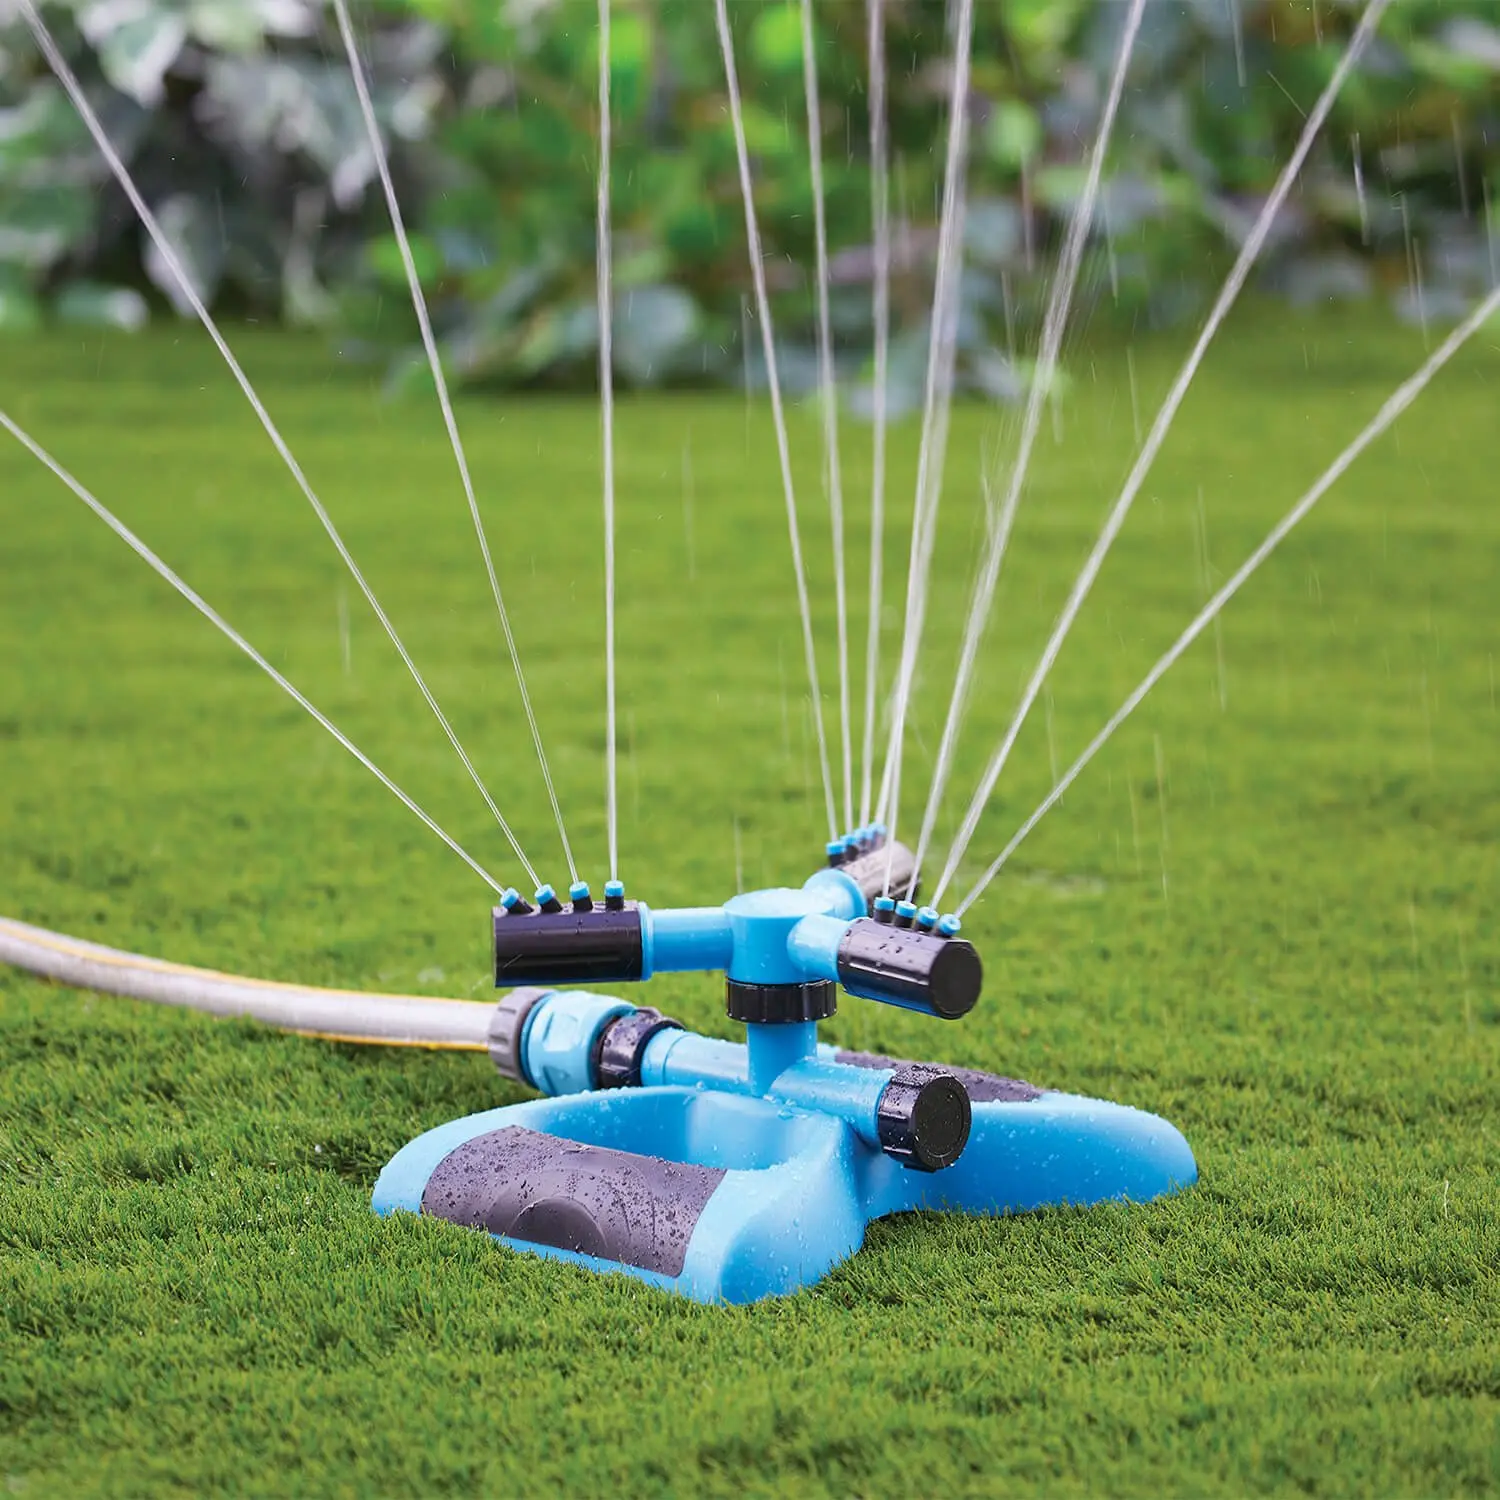
- 3-way Hose Connector: This is the star of the show. Choose a connector that matches the specifications of your hoses. Ensure compatibility to avoid any fitting issues.
- Hoses: You'll need hoses that are clean and free from debris. The length and diameter should match the requirements of your setup. Clean hose ends will help in achieving a snug fit with the connector.
- By preparing these tools and materials in advance, you set yourself up for a successful installation. Remember, the right equipment makes all the difference in achieving a secure and efficient connection.
Step-by-Step Installation Guide
Installing a water 3 Way Hose Connector is a straightforward process when you follow the right steps. Let's break it down into manageable parts to make sure you get it right the first time.
Preparing the Hose
Before you attach anything, you need to prepare your hoses properly. This ensures a snug fit and prevents leaks.
Cut the hose to the correct length.
First, measure the length of hose you need. Use a sharp utility knife or hose cutter to make a clean cut. A straight cut helps the hose fit securely onto the connector. Remember, a precise cut is crucial for a tight connection.
Clean the hose ends for a secure fit.
Next, clean the ends of the hose. Remove any dirt or debris that might interfere with the connection. A clean hose end ensures a better seal and reduces the risk of leaks. You can use a damp cloth to wipe the ends thoroughly.
Attaching the Connector
Now that your hoses are ready, it's time to attach the water 3 Way Hose Connector.
Align the connector with the hose.
Position the connector so that it lines up perfectly with the hose. Make sure the connector's openings match the hose ends. Proper alignment is key to a successful installation.
Secure the connector in place using a hose clamp.
Slide a hose clamp over the end of the hose. Push the hose onto the connector until it fits snugly. Tighten the hose clamp with a screwdriver. Ensure it's tight enough to hold the hose in place but not so tight that it damages the hose. This step is vital for preventing leaks.
Securing the Connection
With the connector attached, you need to ensure everything is secure and leak-free.
Check for leaks.
Turn on the water supply slowly. Watch each connection point closely. If you see any leaks, turn off the water and tighten the clamps further. A leak-free connection is essential for efficient water flow.
Tighten connections for a secure fit.
Once you've checked for leaks, give each connection a final tightening. This ensures that everything stays in place during use. A secure fit means you can enjoy a hassle-free watering experience.
By following these steps, you can install your water 3 Way Hose Connector with confidence. A well-installed connector not only saves water but also prolongs the life of your hoses and equipment.
Troubleshooting Common Issues
Even with careful installation, you might encounter some common issues with your hose connector. Don't worry; these problems are usually easy to fix. Let's go through some troubleshooting tips to help you resolve them effectively.
Leaks at the Connection
Leaks can be frustrating, but identifying and fixing them is straightforward. Here's how you can tackle this issue:
- Inspect the Connection: Start by examining the connection points. Look for any visible gaps or misalignments. Sometimes, a simple adjustment can stop the leak.
- Check the Hose Clamp: Ensure the hose clamp is tight enough. If it's loose, use a screwdriver to tighten it. Be careful not to overtighten, as this can damage the hose.
- Use Thread Tape: If you're dealing with a threaded connector, make sure you've applied thread tape correctly. Wrap it around the male threads before attaching to the female fitting. This creates a watertight seal.
- Examine the Hose: Inspect the hose for any cuts or damage. A damaged hose can cause leaks. If you find any issues, consider using a mending kit to repair the hose. As Ann Barnes shared, a mending kit can effectively join a hose back together after cutting out a damaged section.
- "Inspect components: Examine the hose, fittings, and adapters for any damage or defects before installation." - Unknown
Difficulty in Attaching the Connector
Sometimes, you might face challenges when attaching the connector. Here are some solutions to help you overcome fitting issues:
- Ensure Compatibility: Double-check that your hoses and connector are compatible. Mismatched parts can lead to fitting problems. Make sure the sizes and types match.
- Prepare the Hose: If the hose is too stiff, it might be difficult to attach. Set up your hose when temperatures are 70 degrees Fahrenheit or higher for maximum flexibility. This makes the hose easier to work with.
- Align Properly: Proper alignment is crucial. Make sure the connector lines up perfectly with the hose. Misalignment can cause difficulty in attaching the connector.
- Simplified Installation: Remember, these connectors don't always require specialized tools. This makes them more accessible for quick fixes. If you're struggling, try using basic tools to assist with the attachment.
- By following these troubleshooting tips, you can address common issues with your hose connector. Whether it's fixing leaks or overcoming fitting challenges, these solutions will help you maintain a secure and efficient connection.
Maintenance Tips
Keeping your water 3 Way Hose Connector in top shape requires regular maintenance. By investing a little time in upkeep, you can extend the life of your connector and hoses, ensuring they work efficiently whenever you need them.
Regular Checks
Inspect the connector for wear and tear.
Regular inspections are crucial. Look over your connector and hoses for any signs of wear or damage. Check for cracks, bulges, or any unusual wear patterns. If you spot any issues, address them immediately to prevent leaks or failures. Remember, a small problem now can save you from bigger headaches later.
Cleaning and Storage
Proper cleaning methods.
Cleaning your hose and connector is essential for maintaining their performance. After each use, rinse off any dirt or debris. This prevents buildup that can cause blockages or damage. For threaded connectors, ensure the threads are clean and free from any residue. A clean connector ensures a tight seal and reduces the risk of leaks.
Best practices for storing the connector.
Proper storage can significantly extend the life of your hose and connector. Always coil your hose loosely to avoid kinks, which can weaken the material. Store it in a shaded area to protect it from UV damage. During colder months, drain any remaining water and store the hose indoors to prevent freezing and potential bursts. Hanging your hose in a garage or shed is ideal, but if you must leave it outside, find a cool, shaded spot.
By following these maintenance tips, you ensure your water 3 Way Hose Connector remains in excellent condition, ready for use whenever you need it. Regular care not only prolongs the life of your equipment but also enhances its performance, making your gardening or watering tasks a breeze.
You've now mastered the steps to install a water 3 Way Hose Connector. By following this guide, you ensure a secure and efficient connection, reducing the risk of leaks and prolonging the life of your hoses. Remember, regular maintenance is key. It not only enhances performance but also prevents costly repairs down the line. So, keep an eye on your setup and enjoy a hassle-free watering experience. With proper care, your system will serve you well for years to come.
See Also
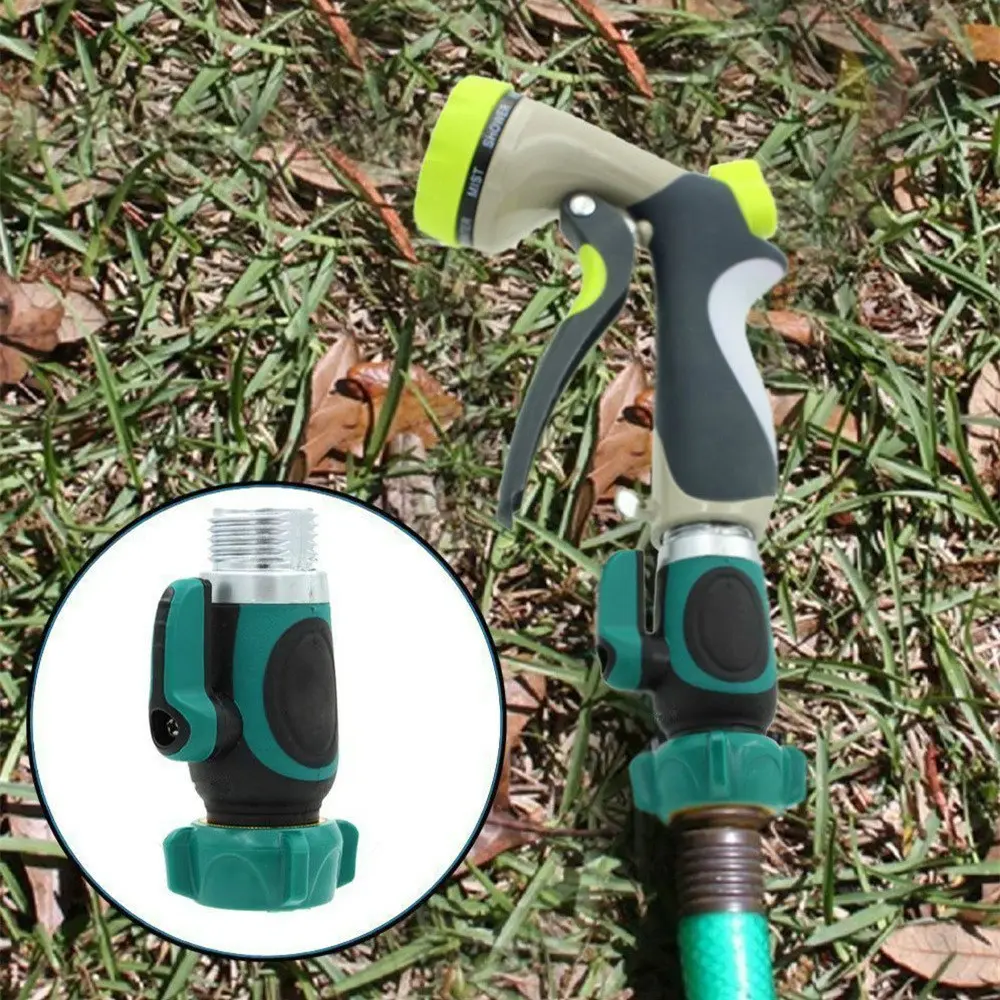
Extend Your Car Wash Gun Hose With A Connector
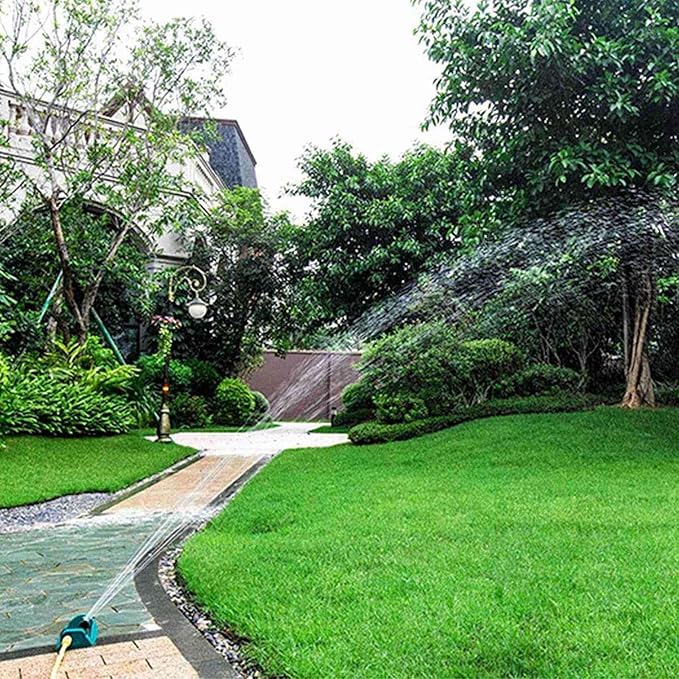
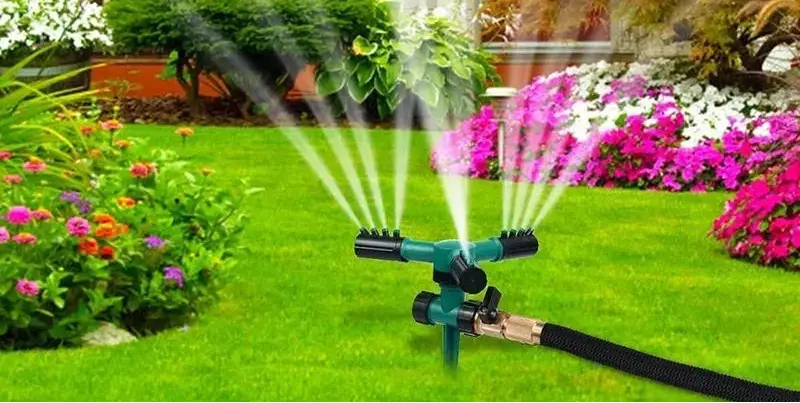
Create An Easy DIY Garden Sprinkler At Home
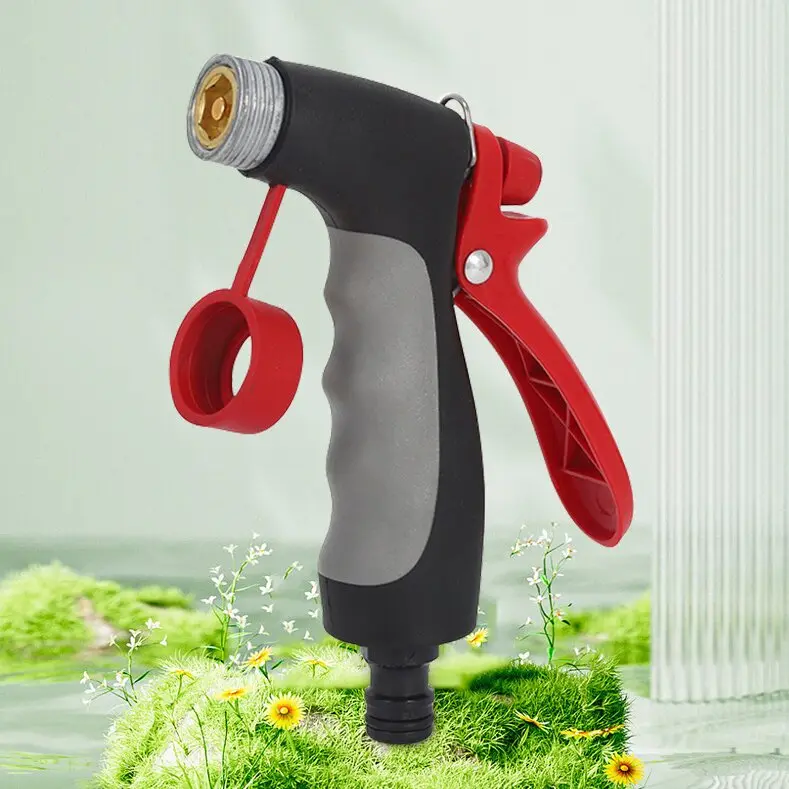
Tips For Selecting The Perfect Handheld Spray Gun
Automated Garden Sprinkler For Hassle-Free Watering
The Garden Watering Gun: Simplifying Your Gardening Experience