

Product News


How to Craft a Simple Homemade Garden Sprinkler
How to Craft a Simple Homemade Garden Sprinkler
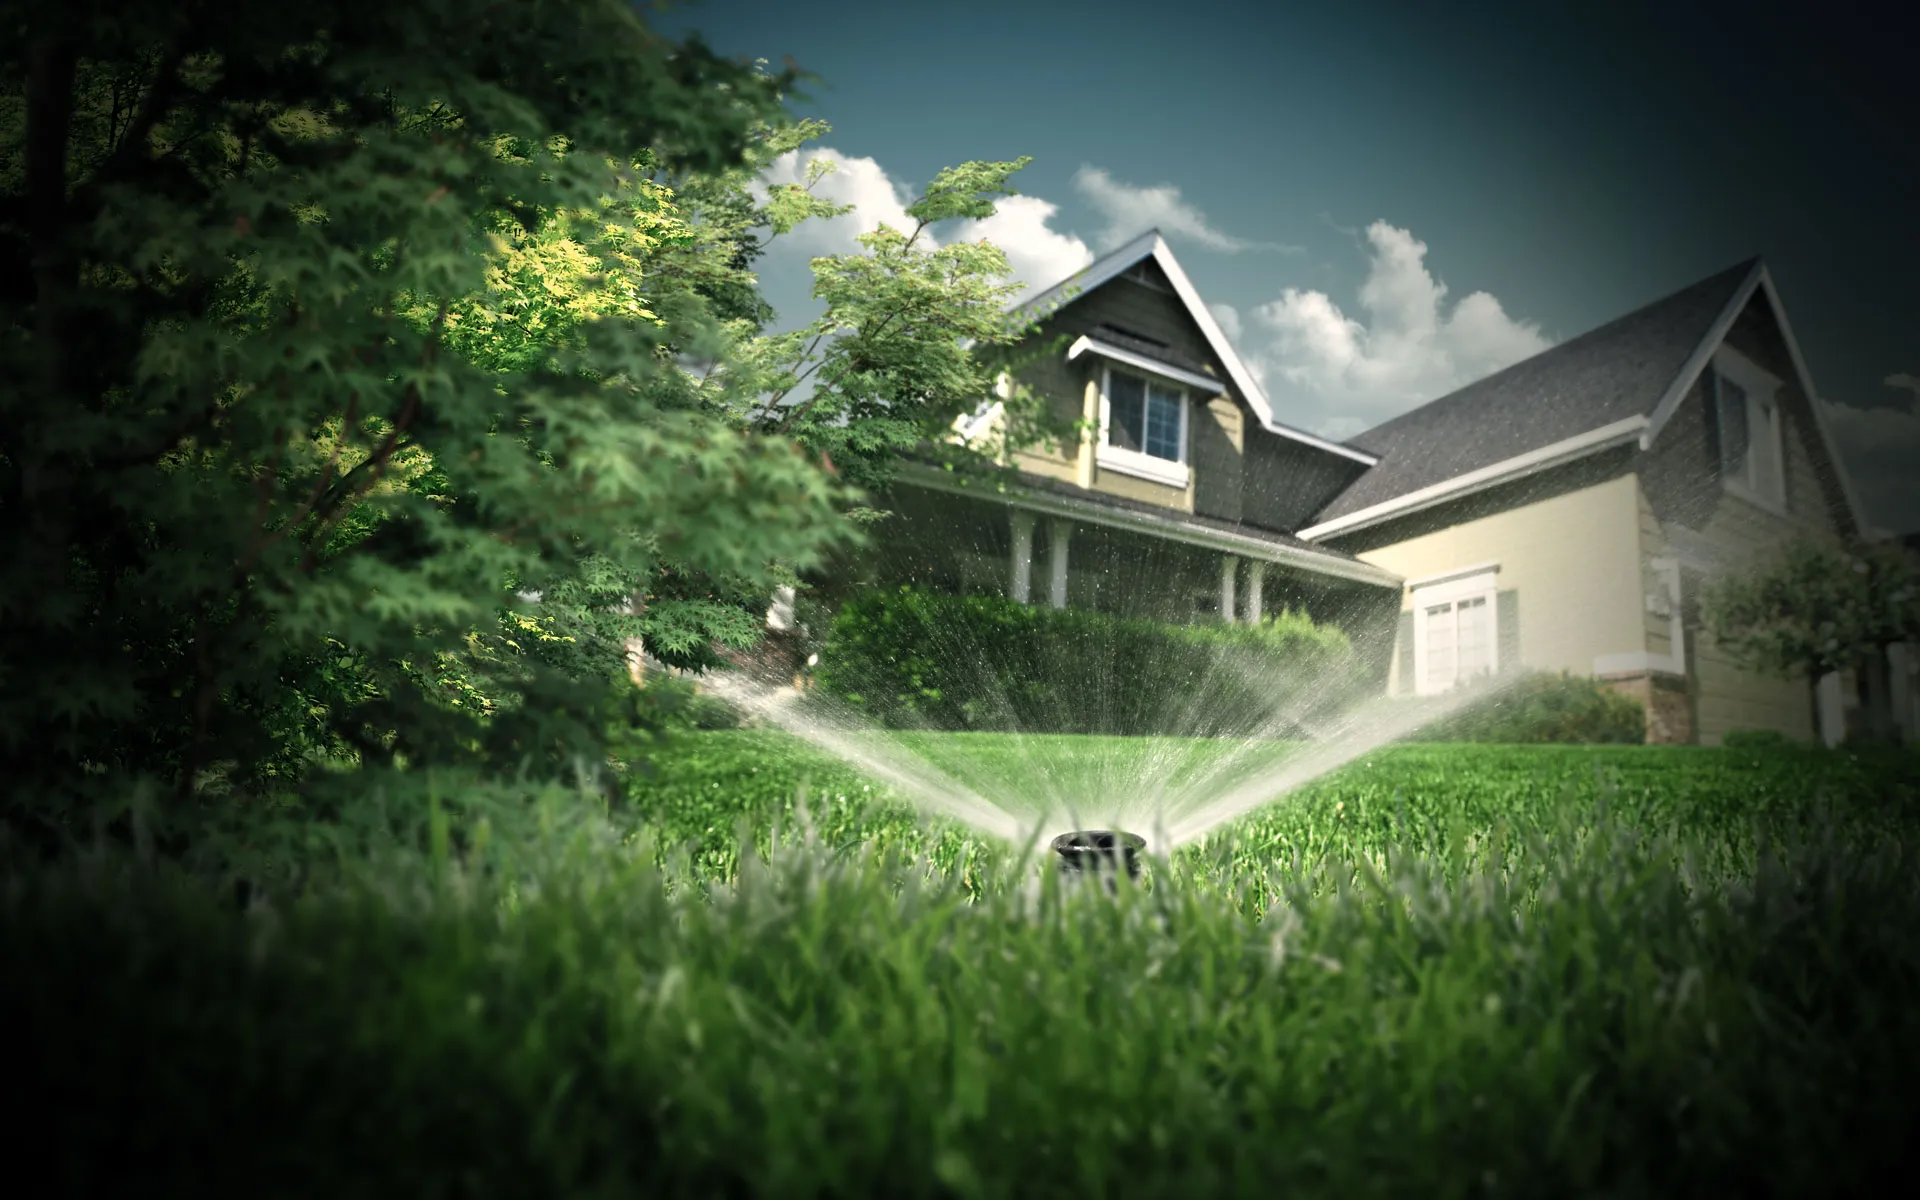
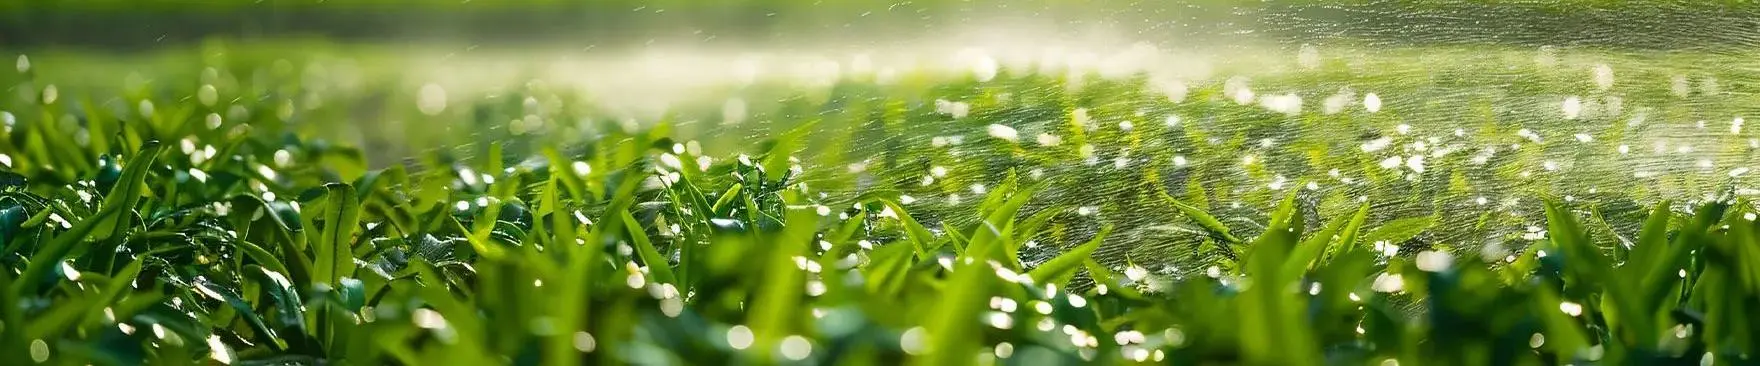
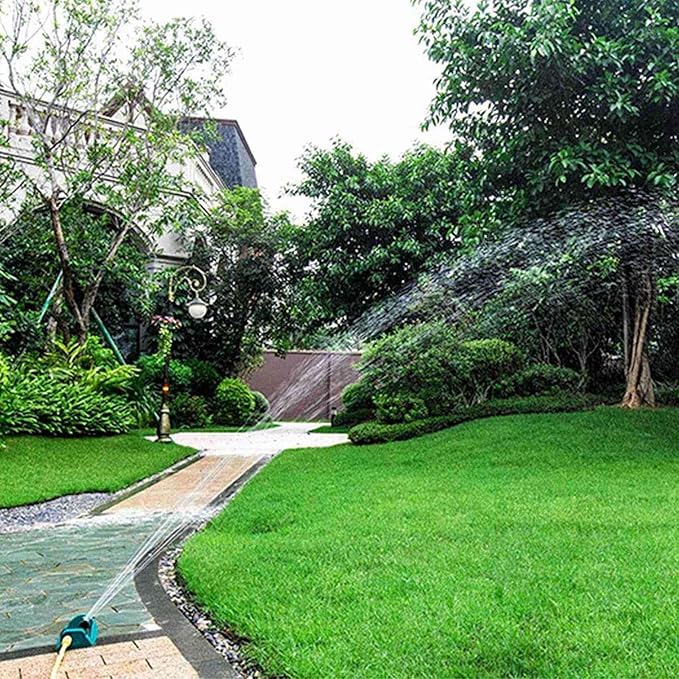
Creating your own Water Sprinkler for home garden offers a rewarding experience. You save money and resources while enjoying the satisfaction of a DIY project. Imagine the joy of crafting a tool that not only waters your plants but also reflects your creativity. DIY projects like this can save you up to2,200∗comparedtoprofessionalinstallations.Plus,youmightsavearound∗2,200* compared to professional installations. Plus, you might save around *430 annually on water costs. Embrace the benefits of a homemade approach and transform your garden into a lush paradise without breaking the bank.
Materials Needed
Creating your homemade Garden Sprinkler requires a few essential tools and materials. Let's dive into what you'll need to get started.
Essential Tools
To craft your sprinkler, gather these tools:
- Drill: You'll use this to make precise holes in the plastic bottle, allowing water to spray out effectively.
- Scissors: Handy for cutting tape or trimming any excess material.
- Sharp knife: Essential for poking holes in the bottle. Make sure it's sharp enough to create clean cuts.
Required Materials
Now, let's look at the materials you'll need:
- Plastic bottle (e.g., 2-liter pop bottle): This will serve as the main body of your sprinkler. It's lightweight and easy to work with.
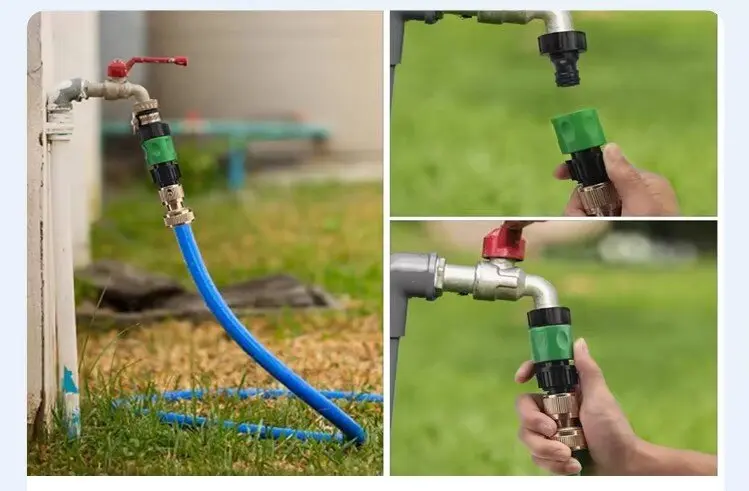
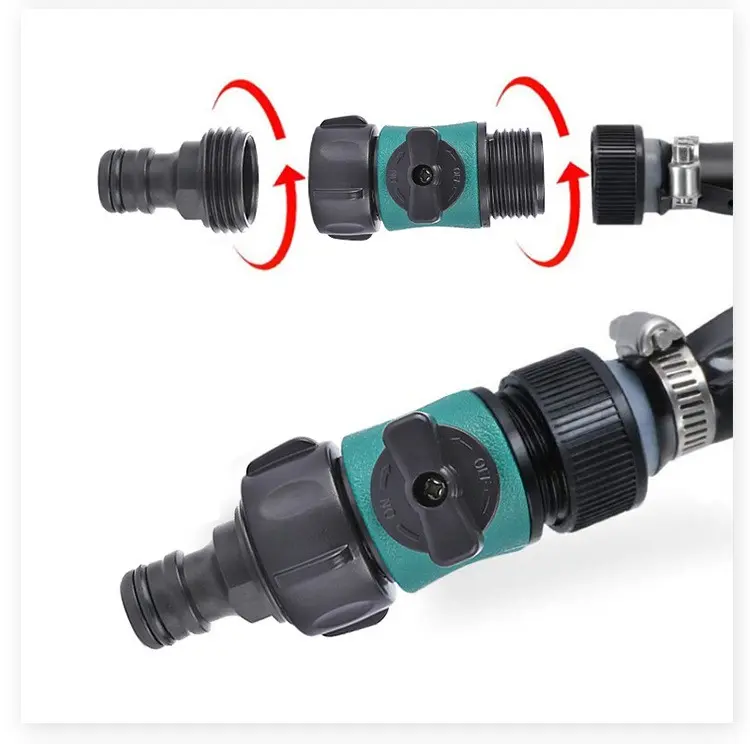
- Garden hose: Connects to your water source and delivers water to your sprinkler. Ensure it's long enough to reach your garden.
- Waterproof tape: Use this to secure connections and prevent leaks. It ensures that your sprinkler operates efficiently.
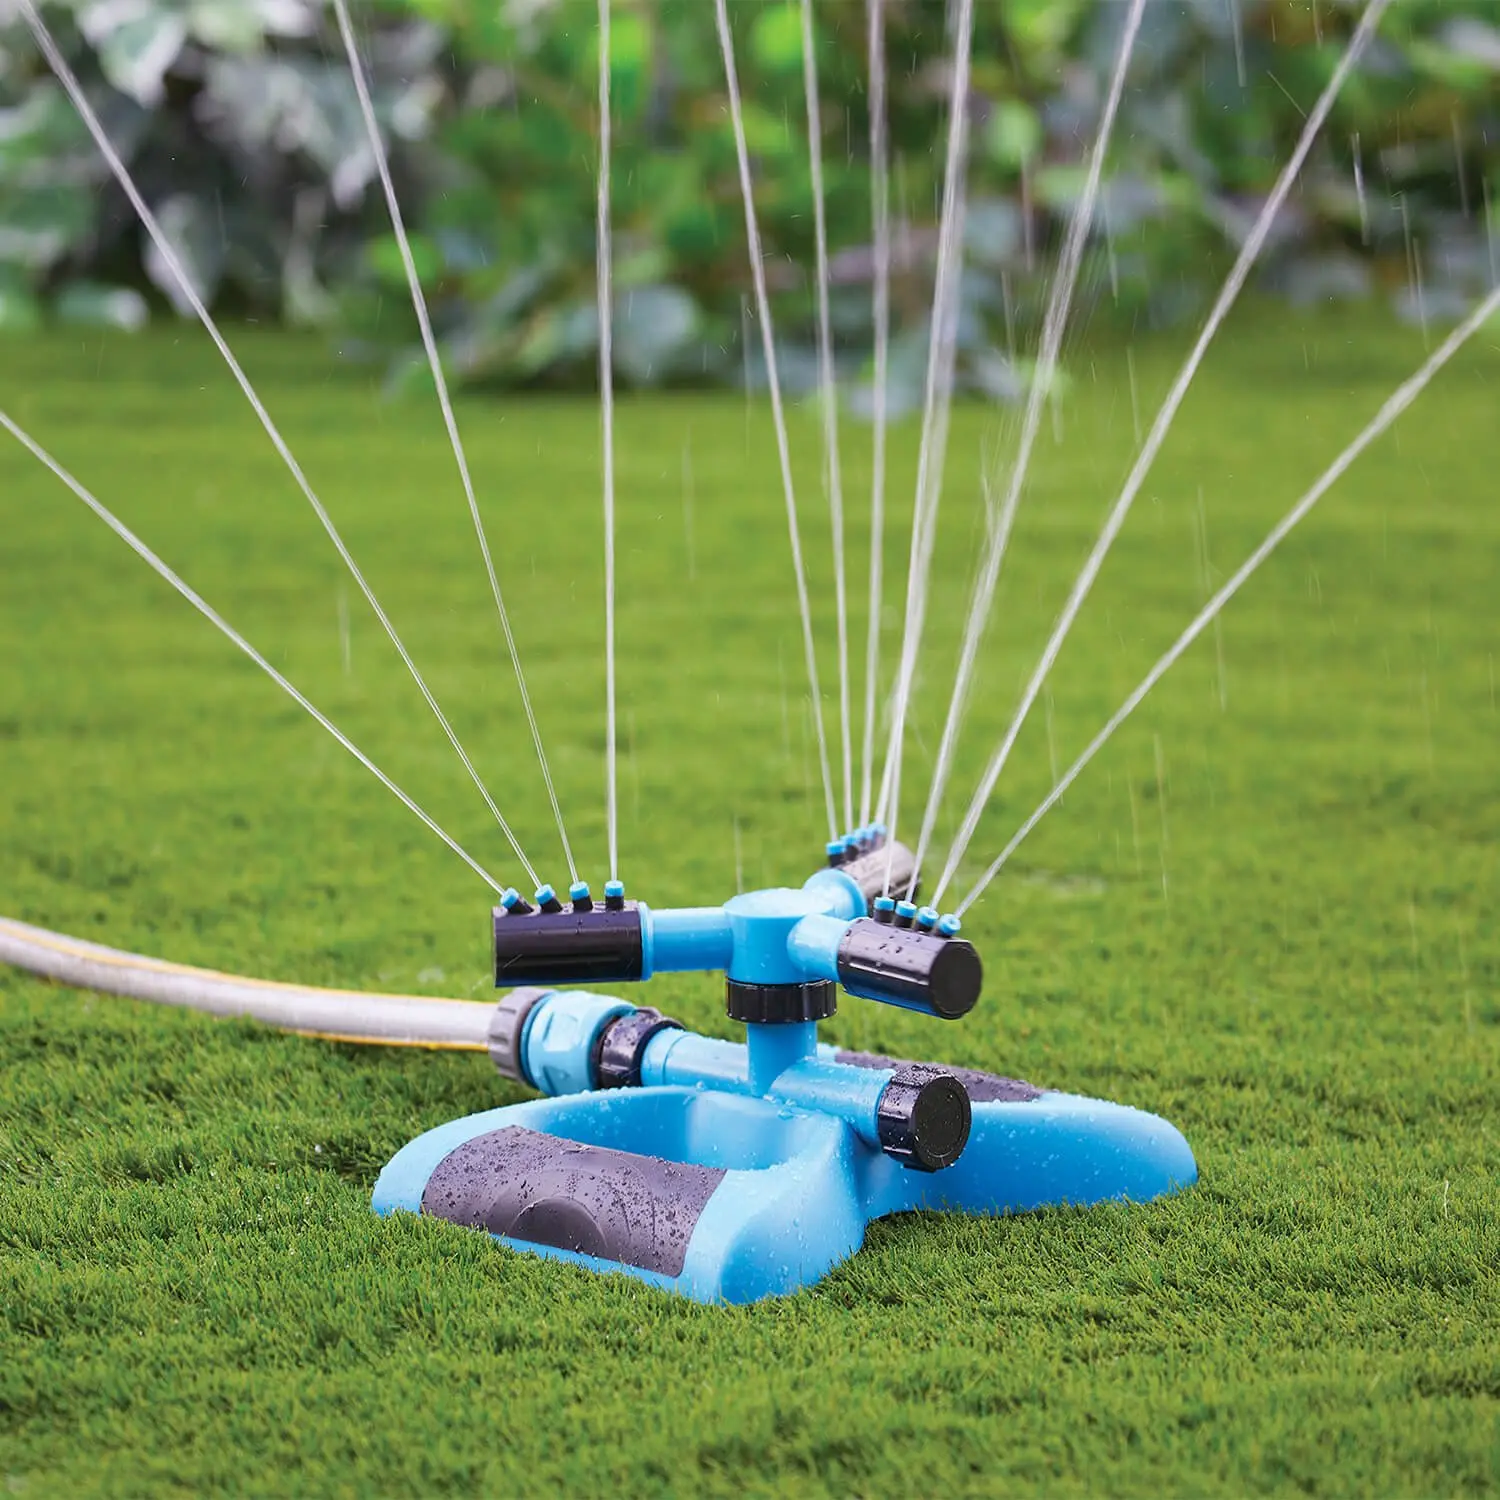
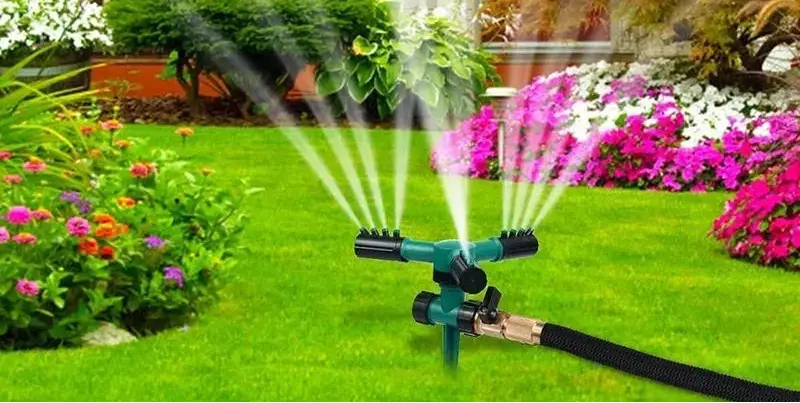
- PVC pipes (optional for advanced systems): If you're looking to cover a larger area or want a more permanent setup, consider using PVC pipes. They offer durability and flexibility in design.
With these tools and materials, you're all set to create a functional and efficient garden sprinkler. Whether you stick to the basics or opt for an advanced system, you'll find the process straightforward and rewarding.
Step-by-Step Instructions
Preparing the Bottle
Clean and dry the bottle
First, grab your plastic bottle. Make sure it's clean and dry. You don't want any dirt or moisture inside. This ensures that your sprinkler works efficiently. Rinse it thoroughly with water and let it air dry. A clean bottle prevents any blockages in the holes you'll create.
Use a sharp knife to poke holes for water flow
Next, take your sharp knife. Carefully poke holes into the sides of the bottle. These holes will allow water to spray out. Space them evenly around the bottle for uniform water distribution. Be cautious while doing this to avoid injury. The size of the holes will affect the water flow, so experiment with different sizes if needed.
Attaching the Hose
Secure the hose to the bottle
Now, it's time to attach the garden hose. Insert the hose into the bottle's opening. Make sure it's snug and secure. A tight fit ensures that water flows directly into the bottle without leaking. If the hose doesn't fit perfectly, you might need to adjust the bottle's opening slightly.
Use waterproof tape to prevent leaks
Once the hose is in place, grab your waterproof tape. Wrap it around the connection point. This step is crucial to prevent any leaks. Ensure the tape covers the entire area where the hose meets the bottle. A well-sealed connection keeps your sprinkler efficient and effective.
Testing the Sprinkler
Connect to water source
With everything set up, connect your hose to a water source. Turn on the water slowly. Watch as your homemade sprinkler comes to life. The water should spray out of the holes you created. If it doesn't, check for any blockages or leaks.
Adjust water pressure
Finally, adjust the water pressure to your liking. Higher pressure will increase the spray distance. Lower pressure will create a gentle mist. Find the right balance for your garden's needs. You might need to tweak the hole sizes or the number of holes for optimal performance.
By following these steps, you've crafted a simple yet effective garden sprinkler. Enjoy watching your plants thrive with your new DIY creation!
Tips for Optimization
Adjusting Water Flow
Fine-tuning your homemade sprinkler can make a big difference in how well it waters your garden. Here are some tips to help you get the most out of your DIY project.
Experiment with hole sizes
The size of the holes in your bottle affects how the water sprays. Larger holes let more water out, creating a stronger spray. Smaller holes produce a gentle mist. Try different sizes to see what works best for your plants. You might find that a mix of sizes gives you the best coverage.
Control water pressure
Water pressure plays a crucial role in how far and how fast the water travels. If you want a wider reach, increase the pressure. For a softer touch, lower it. Adjusting the pressure helps you control the flow and ensures your plants get the right amount of water. Remember, balance is key. Too much pressure might waste water, while too little might not reach all your plants.
Enhancing Coverage
Getting the right coverage means your entire garden gets watered evenly. Here’s how you can make sure every plant gets its share.
Positioning the sprinkler
Where you place your sprinkler matters. Position it in the center of your garden for even coverage. If your garden is large or oddly shaped, you might need to move it around. Observe how the water spreads and adjust the position as needed. This way, you ensure every corner of your garden gets watered.
Using multiple sprinklers
For larger gardens, one sprinkler might not be enough. Consider using multiple sprinklers to cover more ground. Place them strategically to avoid overlapping and wasting water. By using several sprinklers, you can create a system that waters your entire garden efficiently. This approach not only saves time but also ensures that all your plants thrive.
By optimizing your homemade sprinkler, you can create a watering system that suits your garden perfectly. With a little experimentation and adjustment, you’ll have a setup that keeps your plants happy and healthy.
Maintenance and Troubleshooting
Keeping your homemade garden sprinkler in top shape ensures it works efficiently. Regular maintenance helps you avoid common issues and prolongs the life of your DIY project. Let's dive into some simple steps to keep your sprinkler running smoothly.
Regular Cleaning
Regular cleaning is crucial for maintaining your sprinkler's performance. Over time, debris can clog the holes, affecting water flow.
Remove debris from holes
Check the holes in your bottle regularly. Use a small brush or toothpick to clear any debris. This simple step keeps the water flowing freely and prevents blockages. Clean holes ensure your plants receive the right amount of water.
Check for leaks
Inspect the connections between the hose and the bottle. Look for any signs of leaks. If you find any, reapply waterproof tape to seal them. A leak-free connection ensures efficient water usage and prevents wastage.
Common Issues
Even with regular maintenance, you might encounter some common issues. Knowing how to troubleshoot them can save you time and effort.
Uneven water distribution
If you notice uneven water distribution, reposition your sprinkler. Make sure it's centered in your garden. You might need to adjust the hole sizes or add more holes for better coverage. Experiment with different setups until you find the one that works best for your garden.
Low water pressure
Low water pressure can affect the sprinkler's performance. Check your water source to ensure it's fully open. If the pressure remains low, inspect the hose for kinks or blockages. Clearing these can improve water flow and restore pressure.
"My husband and the kids made PVC sprinklers years ago. They were inexpensive, too, but this soda bottle one was definitely the quickest sprinkler we’ve ever put together." - Anonymous
This personal experience highlights the simplicity and efficiency of homemade sprinklers. By addressing maintenance and troubleshooting, you can enjoy a reliable and cost-effective watering solution for your garden.
Benefits of a Homemade Sprinkler
Creating your own water sprinkler for home garden offers numerous advantages. Let's explore how you can benefit from this DIY approach.
Cost Savings
Building a homemade sprinkler saves you money. You use inexpensive materials like plastic bottles and garden hoses. These items are often already available at home or can be purchased cheaply. By crafting your own system, you avoid the high costs associated with commercial products. Professional sprinkler systems can be pricey, but a DIY project keeps your budget intact.
"DIY systems are cost-effective and satisfying projects, while professional systems offer convenience."
This quote highlights the financial benefits of a homemade approach. You enjoy the satisfaction of creating something useful without spending a fortune.
Customization
A homemade sprinkler allows you to tailor the design to your garden's specific needs. You decide the number and size of holes in the bottle, adjusting the water flow to suit different plants. This flexibility ensures that each part of your garden receives the right amount of hydration.
You can also modify the design as needed. If your garden expands or changes, simply adjust your sprinkler setup. Add more holes, change the bottle size, or even incorporate PVC pipes for a more advanced system. This adaptability makes a homemade sprinkler a versatile tool for any gardener.
By choosing a DIY water sprinkler for home garden, you gain control over both cost and customization. You create a system that fits your unique space and requirements, all while enjoying the creative process. Embrace the benefits of a homemade sprinkler and watch your garden thrive.
Encouragement to Try DIY Projects
Building Confidence
Simple projects for beginners
Starting with simple DIY projects can be a great way to build your confidence. You don't need to be an expert to create something useful and beautiful. Many people, like a pregnant lady who wanted to build a shelf, found joy in learning how to DIY. She discovered that with time and patience, even beginners can achieve impressive results. So, pick a project that interests you and dive in. You'll find that each small success boosts your confidence and encourages you to try more.
Learn new skills
DIY projects offer a fantastic opportunity to learn new skills. Whether it's using power tools or understanding how things work, each project teaches you something valuable. One person shared how they gained confidence by watching online tutorials and tackling minor car repairs. This experience not only improved their DIY skills but also provided lessons for personal growth. So, embrace the chance to learn. You'll find that these skills can be useful in many areas of your life.
Environmental Impact
Reduce waste by reusing materials
DIY projects can have a positive impact on the environment. By reusing materials, you reduce waste and give new life to items that might otherwise end up in a landfill. For example, turning a plastic bottle into a garden sprinkler is a simple way to repurpose something you already have. This approach not only saves money but also helps the planet. So, look around your home for materials you can reuse. You'll be surprised at what you can create with a little imagination.
Conserve water with efficient design
Creating a homemade garden sprinkler is not just about saving money; it's also about conserving water. By designing an efficient system, you ensure that your plants get the right amount of hydration without wasting resources. This thoughtful approach benefits both your garden and the environment. So, as you embark on your DIY journey, consider how your projects can contribute to a more sustainable world. You'll find that small changes can make a big difference.
Creating a water sprinkler for home garden is a rewarding DIY project. You start by gathering simple materials like a plastic bottle and a garden hose. Then, follow the steps to assemble your sprinkler. This project not only saves money but also allows you to customize your garden's watering needs. DIY projects like this boost your creativity and resourcefulness. So, why not give it a try? You'll enjoy the process and see your garden flourish with your homemade creation.
See Also
Transform Your Garden Experience With A Sprinkler System!
Essential Tips For Sprinkler Maintenance And Care
Smart Automatic Sprinklers To Simplify Your Watering Routine
Watering Guns: Your Gardening Ally For Effortless Care
Versatile 360-Degree Rotating Sprinkler For Efficient Watering